TOOLS
- 1-3/8-inch spade bit with spur cutters
- hand stapler
- brush
- utility knife with regular and shingle-cutting hook blades
- assorted drill bits and countersink bit
- sawhorses
- drill with screw-driving attachment
- miter saw
- medium-grit sandpaper
- orbital sander
- hammer
- circular saw with plywood-cutting blade
- framing square
- clamps
- jig saw with cross-cut blade
MATERIALS
- 2x2 x 6' fir or cedar board
- 2x4 x 8' pressure-treated board
- 1-1/4" galvanized wood screws
- low-VOC paint or stain
- 15-lb. asphalt-impregnated felt roofing paper
- 3/4" sheet of exterior-grade plywood (not pressure-treated)
- 3" galvanized wood screws
- 3/4" galvanized roofing nails
- roofing cement
- 1 bundle (or about 12) 3-tab asphalt shingles
- 3/8" galvanized staples
INTRODUCTION
Print the Plans and Get Materials
A place to escape the elements is a must for dogs that spend any time outdoors. This project will take you through the steps to build a classic doghouse from a single sheet of plywood and some dimensional lumber. Remember that your doghouse should be proportionate to your dog. Bigger is not necessarily better, because dogs tend to feel more secure in small spaces. Also, a properly sized doghouse helps your pet use its natural body heat to warm the interior and stay comfortable during cold weather.
This project is for a small- to medium-sized dog, up to about 50 pounds. You’ll be able to cut all the main parts of the house from a single sheet of 3/4-inch-thick exterior-grade plywood. Wood is a natural insulator that helps keep your doghouse cooler in summer, and warmer in winter. Your dog’s safety is a priority, so use good quality plywood and wood that’s free of checks and splinters. Use pressure-treated wood only for the base where your pet can’t chew on it—pressure-treated wood contains chemicals that could harm your dog. Plan to stain or paint the doghouse using low-VOC finishes.
Cut List:
Cut the 2x4 into four pieces for the base:
two at 22-1/2“ long
two at 23” long
Cut the 2x4 into four pieces for the base:
two at 22-1/2“ long
two at 23” long
Cut the 2x2 fir or cedar into 8 pieces for the framing:
four corner framing 15” long
four roof framing 13” long
four corner framing 15” long
four roof framing 13” long
STEP 1
Layout the Pieces
First, you’ll want to transfer the dimensions from the PLAN DIAGRAM to the plywood. Use a straightedge and framing square to reproduce the diagram on the sheet of plywood. Note that on the layout, no pieces are touching each other so that the width of the saw blade cut — the kerf — will not alter any dimensions.
Make the doorway about 10 inches wide and 13 inches high. Leave a 3-inch-tall lip at the bottom of the hole to cover the base and bottom panel. The door height opening should be about 3/4 of the dog’s height. Large doors aren’t necessary as dogs prefer to duck to enter a doghouse — it makes them feel that they’re entering a cozy and protected space. Plus, it’s a good idea to have the entry as small as possible to help retain heat in the winter and keep out weather. Use any convenient round shape to help you form the arched top of the entryway — a dinner plate, Frisbee, or pot cover works fine.
STEP 2
Cut Out the Pieces
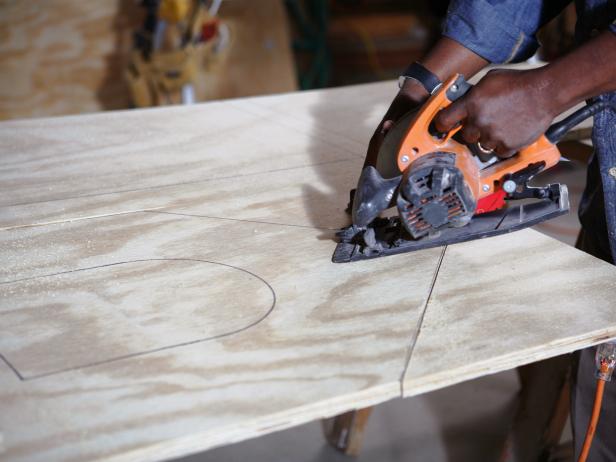
Cut all box parts from the plywood. Clamp the work piece firmly to your sawhorses before making any cuts. Use a sharp cross-cut blade to reduce chips and splintering. Work slowly and let the saw do the work to ensure straight, splinter-free cuts. It won’t matter if you decide to cut directly on the lines you’ve drawn, or on the inside or outside edge of each line. However, once you decide how you’ll make your cuts, be consistent to ensure that all the pieces fit together properly.
When cutting the roof panels, cut one long edge of each roof panel with the saw blade set at a 45-degree angle. This bevel cut will ensure a tight-fight at the roof peak. Set the shoe of your circular saw at 45-degrees, and always unplug the saw before making any adjustments. When cutting, make sure to watch the blade as you follow your cut line. Don’t rely on the cutting guide on the shoe of the saw or your cut will be off. After you finish this bevel cut, one side of each roof panel will be slightly wider than the other. The wider surface should be the 20-inch dimension as indicated on the diagram, and is the upper side of each roof panel—forming the point of the 45-degree roof peak. Return your saw blade to the 90-degree position before cutting each roof panel to length.
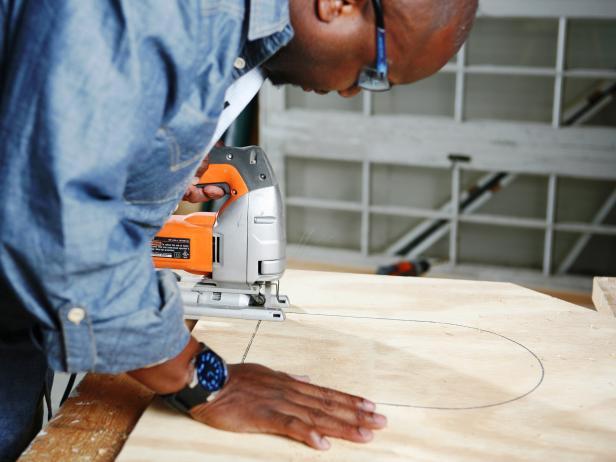
Use a jig saw with a plywood-cutting blade to cut out the doorway. First, drill a 3/8-inch diameter starter hole for the jig saw blade at each bottom corner of the entry hole. Follow the lines carefully, and support the cutout piece as you finish the cut to prevent tear-out.
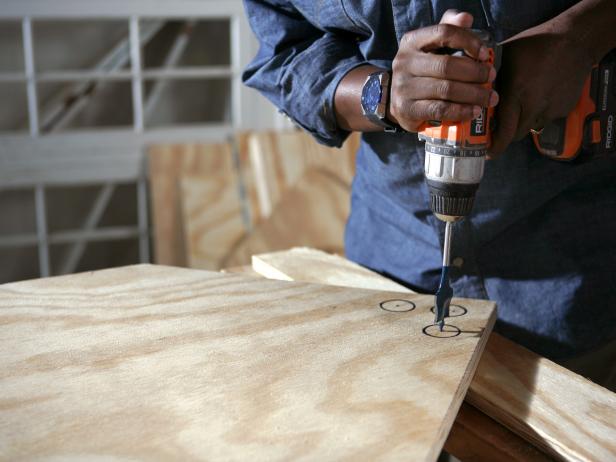
If your doghouse lacks adequate ventilation, the air may become hot and stifling during the summer, creating an uncomfortable environment for your pet. A few holes in the back panel near the peak will provide good cross ventilation. Drill three evenly-spaced holes with a 1 3/8-inch spade bit with spur cutters. Place a piece of scrap lumber directly under the hole locations to help reduce tear-out when you’re drilling through the plywood.
When you’re finished cutting out the pieces, sand all the edges with an orbital sander or sanding block and medium-grit sandpaper to remove any rough spots and splinters.
STEP 3
Build the Base
Assemble the base frame from the pressure-treated 2x4 parts. The base elevates the floor of the doghouse a few inches above the ground. This creates a dead-air space underneath the floor of the house that helps insulate the floor, and also helps keeps the floor dry. Cut the pieces for the base according to the cut list, using a power miter saw or circular saw. Always wear a dust mask when cutting pressure-treated lumber.
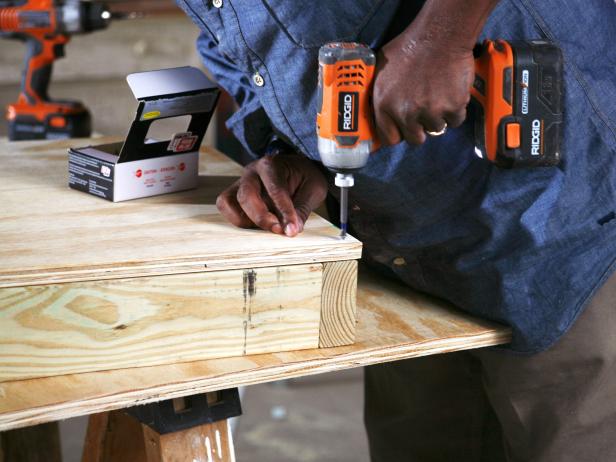
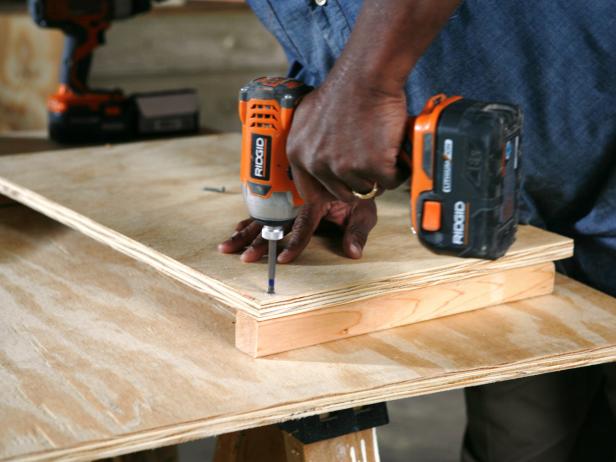
The 23” side pieces of the base run inside the 22-1/2” front and back pieces in order to hide the end grain from the front of the doghouse. The base is assembled with the pieces on-edge. Use a countersink bit to pre-drill pilot holes, and fasten the base pieces together using 3” galvanized wood screws--two screws in each end.
Place the bottom panel on the base and make sure all edges are flush and that the base is square. Fasten the bottom to the base using 1-1/4” galvanized wood screws, making sure the to sink the screw heads just below the surface.
STEP 4
Assemble the Top Pieces
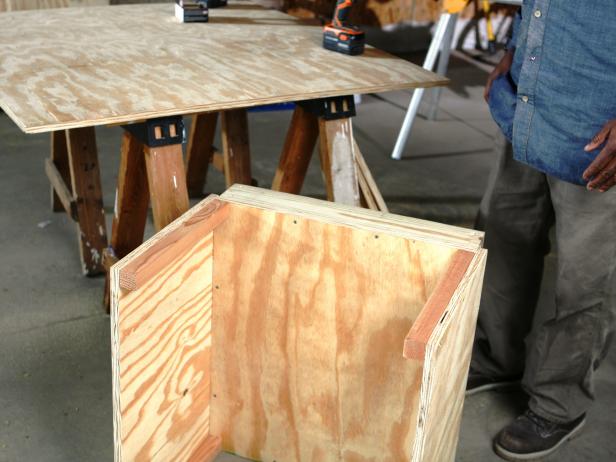
Cut the framing members from the 2x2s. Assemble the sides by fastening one 15” vertical corner framing member to each edge of the side panels, making sure the framing pieces are flush to the edge of the plywood and even with the top of the panel. This leaves a 1” gap between the bottom of the corner framing and the bottom edge of the side. Secure each piece of framing with three 1-1/4” galvanized wood screws driven through the plywood into the framing. Set the side panels on the base, making sure the front and back edges of the side panels are flush with the front and back of the base. Secure the sides to the base with galvanized wood screws driven every 4-5 inches around the perimeter.
With the side panels attached to the base, place the assembly on one end. Put the back panel onto the assembly, making sure the bottom edges of the panels are flush. Secure the back panel to the vertical frame supports using 1-1/4” galvanized wood screws driven every four inches. Along the bottom edge, drive screws through the panel into the floor, making sure that the screw tips do not poke through the floor. Flip the doghouse over and repeat the procedure for the front panel.
STEP 5
Attach the Roof Panels
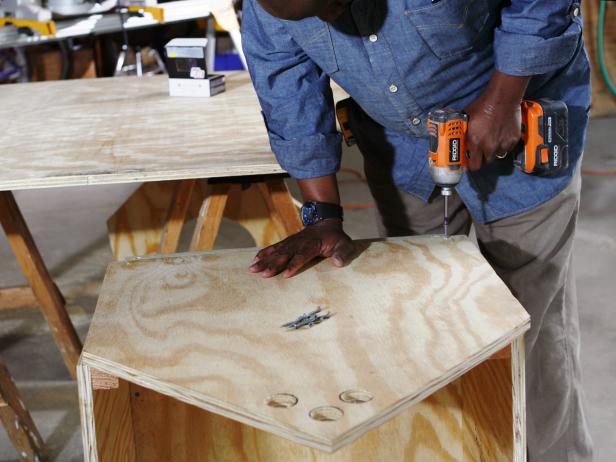
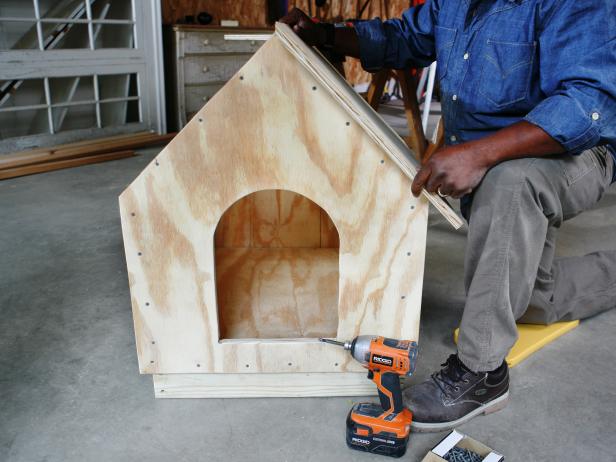
Fasten the 13” roof framing members to the inside edges of the rooflines of the front and back panels, flush with the edges. Position each framing piece halfway between the top (peak) and bottom of the angled roofline cut. Secure the framing with three 1-1/4” galvanized wood screws driven through the plywood and into the framing.
Position the roof panels on the box, making sure that the front and back overhangs are even and that the joint of the panels at the roof peak is tight. Fasten the panels to the roof framing members using 1-1/4” galvanized wood screws.
STEP 6
Shingle the Roof
To begin roofing, first cover the entire roof with a single piece of 15 lb. asphalt-impregnated roofing paper (tar paper). It’s an extra layer of protection that helps ensure the inside of your doghouse remains dry. Staple the roofing paper in place with a hammer stapler or electric stapler, using 3/8-inch galvanized staples. Use a utility knife to trim the edges flush with the edges of the roof panels.
When roofing your doghouse, it’s important that no nail heads protrude into the interior of the house where they could hurt your animal. Be sure to use galvanized roofing nails no longer than 3/4 inches.
The first roofing shingle is your “starter course” and is installed upside down—with the tabs facing up. Keep the front and bottom edges of the starter shingle flush to the bottom and front edges of the roof panel, and nail it in place with roofing nails. The nails go along the nailing line just below the notch in the shingles. Repeat on the other side of the house. Then add a starter course over the front and back edges of the roof, covering the peak. Gently press and crease these shingles so they lay flat over the peak. Allow the front edges of these shingles to overhang the plywood by 3/4” to help protect the plywood edges from moisture.
Install a first row of shingles directly over the starter course, but this time with the shingle tabs facing down. Nail the first course in place. Continue to add rows of shingles, offsetting the notches between the tabs. Three rows of shingles per side will cover the entire roof.
When complete, trim off the excess at the front, back, and along the peak, using a utility knife equipped with a hook blade made for cutting shingles. Be sure to preserve the 3/4" overhang along the front and back roofline.
Cap the ridge using single tabs -- one-third of a shingle cut width-wise along the splits between the tabs. Gently fold each tab in half so that it fits snugly over the peak, and nail in place to cover the ridge of your doghouse. Each ridge cap shingle should overlap and cover the nail heads of the previous shingle. However, the last nail will be exposed, so cover the head with a dab of roofing cement to seal and hide it.
Cap the ridge using single tabs -- one-third of a shingle cut width-wise along the splits between the tabs. Gently fold each tab in half so that it fits snugly over the peak, and nail in place to cover the ridge of your doghouse. Each ridge cap shingle should overlap and cover the nail heads of the previous shingle. However, the last nail will be exposed, so cover the head with a dab of roofing cement to seal and hide it.
STEP 7
Finish the Doghouse
Stain or paint the box, using a low-VOC exterior stain or paint. If you wish, hide the screw holes with wood putting before applying the finish. Before letting your dog inside, allow the finish to dry thoroughly—at least a day or two--to reduce the possibility of lingering fumes inside the house.




No comments:
Post a Comment