Categories

Showing posts with label Garden. Show all posts

Wednesday, August 5, 2015

DIY Miniature Garden

new (4).jpg


I love miniatures! I always had a plan of making a miniature garden and couldn't wait any longer. In this instructable I will show you how to make a cute mini garden in few easy steps. This could be a fun project to do in the weekends and I tried to make it beginner friendly, besides it doesn't matter if you're not an expert (neither am I), miniatures always turn out to be cute.

If you like this ible then please vote for it, I'd really appreciate it :D

Step 1: Materials needed

This mini garden can be made using easily available materials around us! To make this mini garden you'll need:

1) Flower pot of any size you want (It'll be the size of the mini garden),
2) Vining plant and a stick to support it, (Optional, but I thought it would look cute in the mini garden),
3) Twigss (to make the bench, table & fences),
4) Paper (to make tiny planters),
5) Thick paper (to make mini water can and bucket),
6) Scissor & ant-cutter,
7) Glue (white glue, hot glue or super glue),
8) Tiny plants (they grow around the larger ones, look around the garden),
9) Plants for the mini garden (money plants, succulent, preserved moss, dwarf trees etc.)
10) Anything you want to add.

Sunday, May 17, 2015

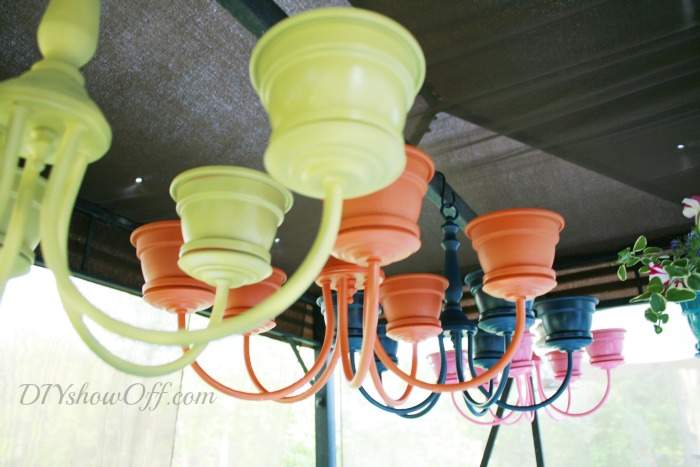
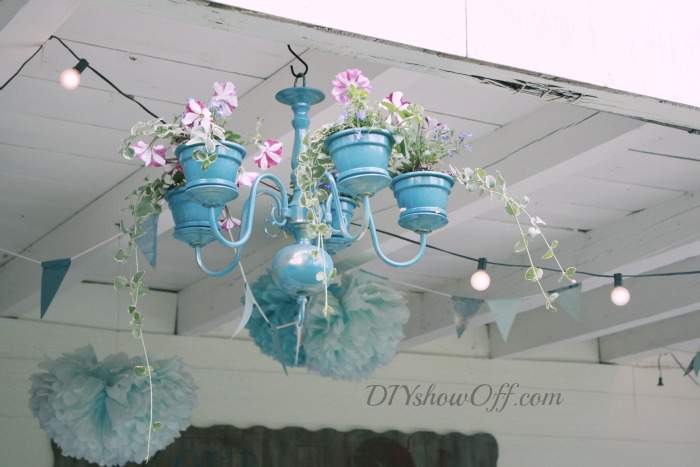
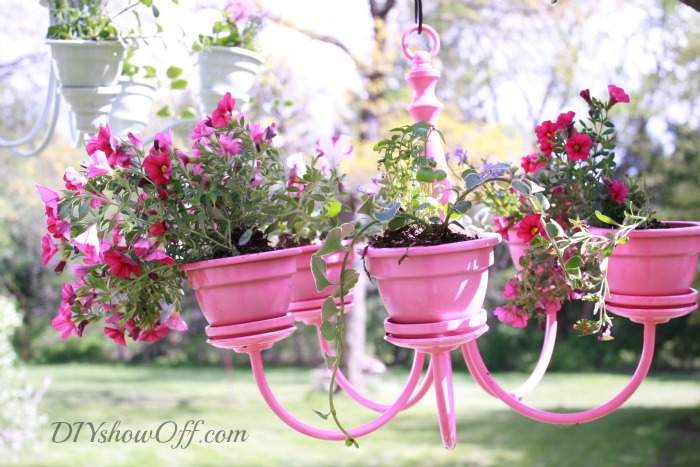
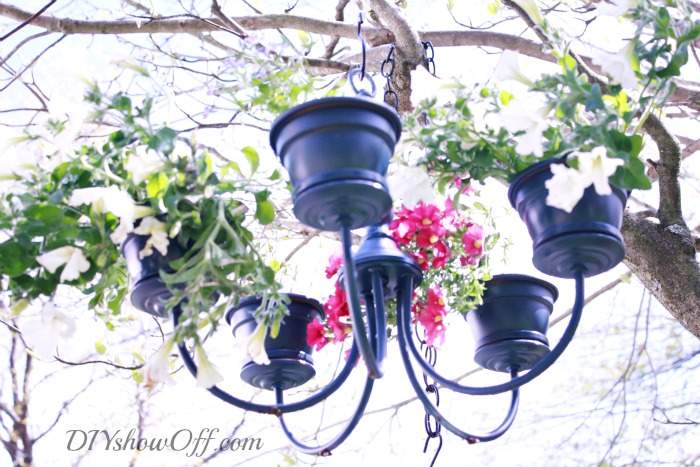
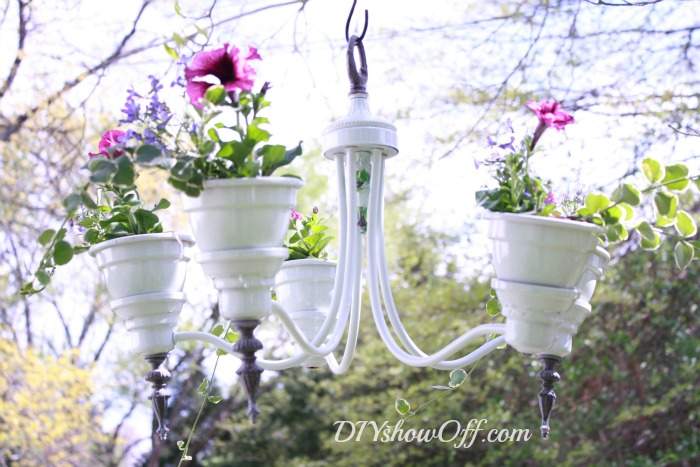
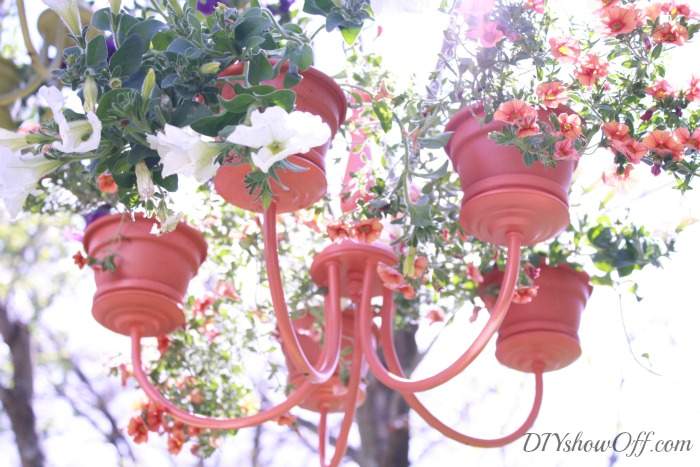
Chandelier Planter Tutorial

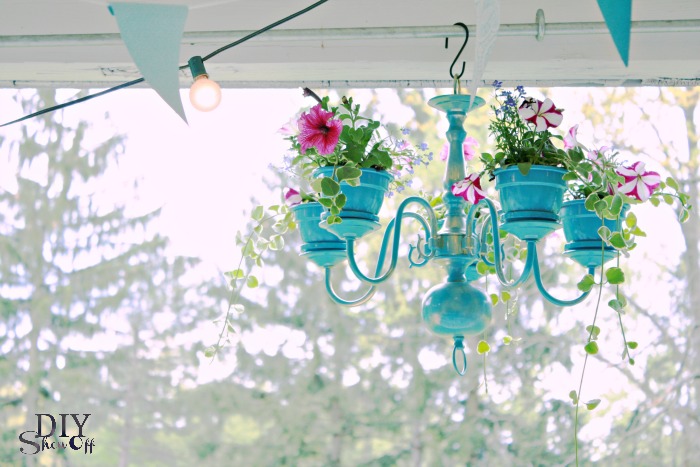
DIYShowOff chandelier planter
Materials:
  • Chandelier (try Craigs List, Ebay, thrift stores, yard sales)
  • Terra cotta pots and saucers (The same number as the “arms” of your chandelier. Ours all had 5.) Plastic pots would also work. Get creative! Try your own spin!
  • Outdoor-rated spray paint
  • Waterproof glue: Elmer’s Probond is perfect for gluing porous (pots) to metal (chandelier)
  • Plumber’s epoxy putty – I used this to help create an elevation for draining (optional)
  • Flowers, plants
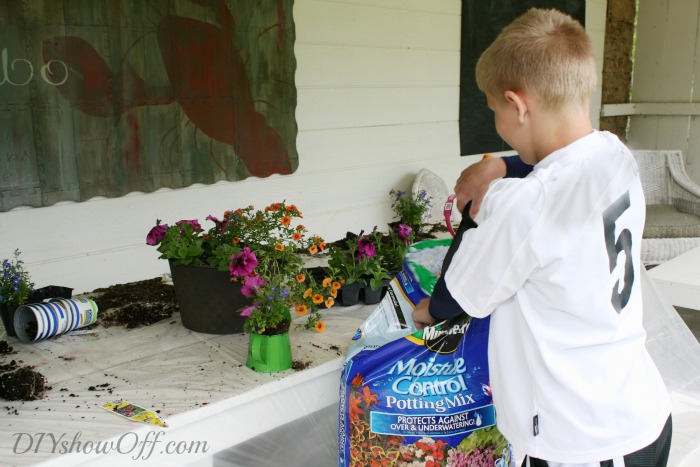
  • Moisture Control Potting Mix
  • “S” hook for hanging (and the chain that comes with the chandelier if needed)
Tools:
  • Wire cutters
  • Garden trowel
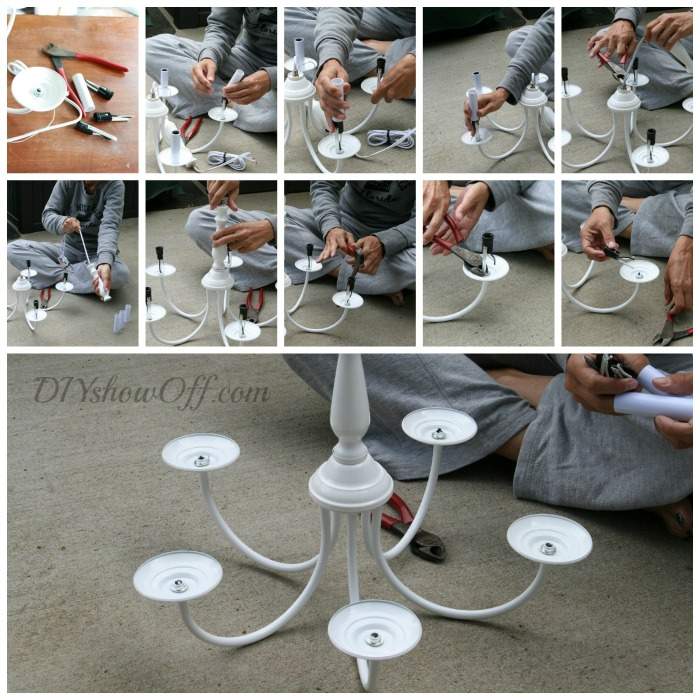
1. Slide off the plastic ‘candle’ holders and remove all electrical/wiring from the chandelier using the wire cutters.
removing-wiring
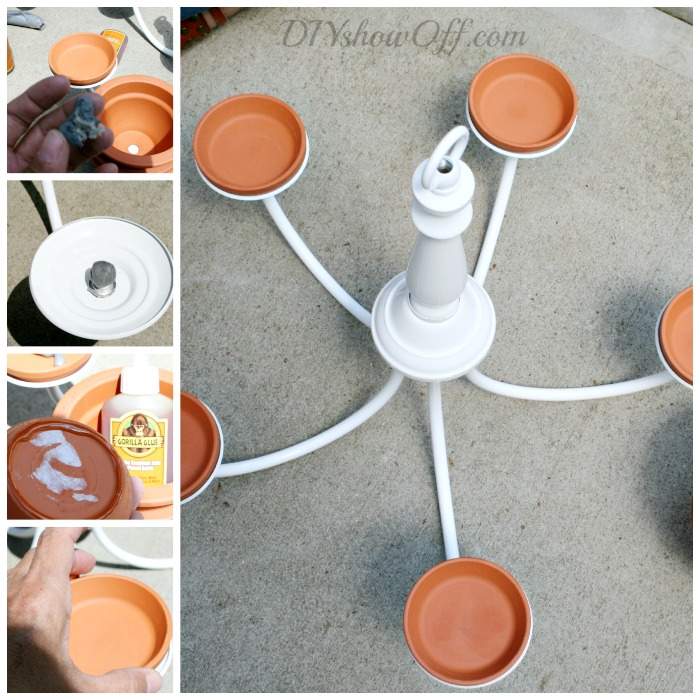
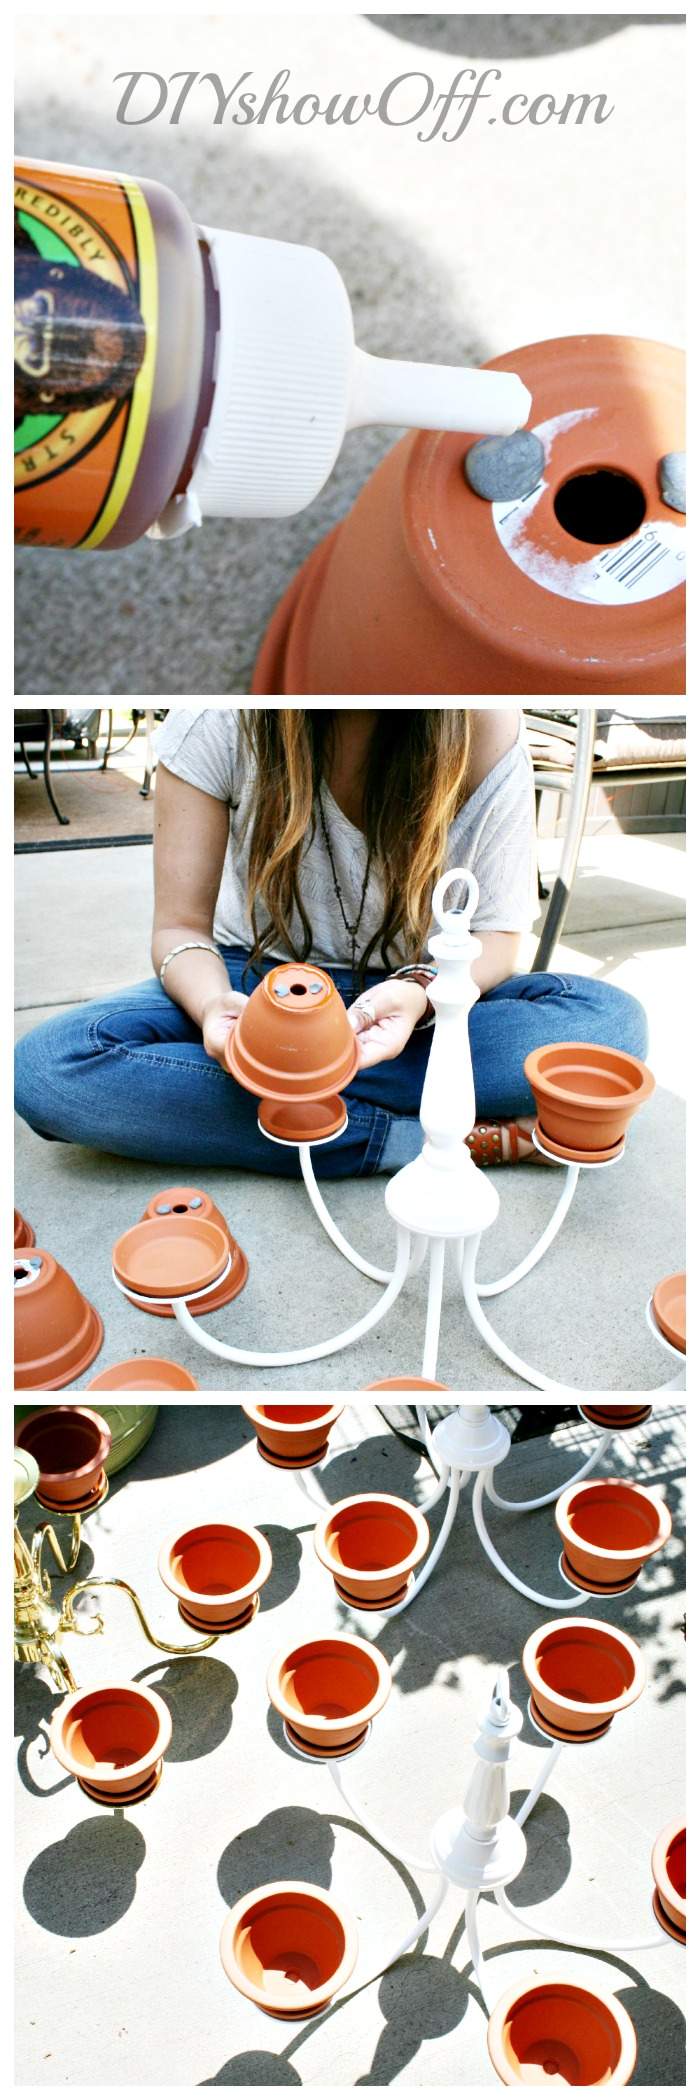
2. Attach terra cotta saucers using epoxy putty and glue. The epoxy putty helped to keep the things in place since clamping isn’t possible as well as raise the pot a bit for draining.
chandelier-planter-tutorial
Repeat for attaching the pots. I let the glue dry 1-2 hours before spray painting and allowed it to cure several days before planting.
how-to-make-a-chandelier-planter
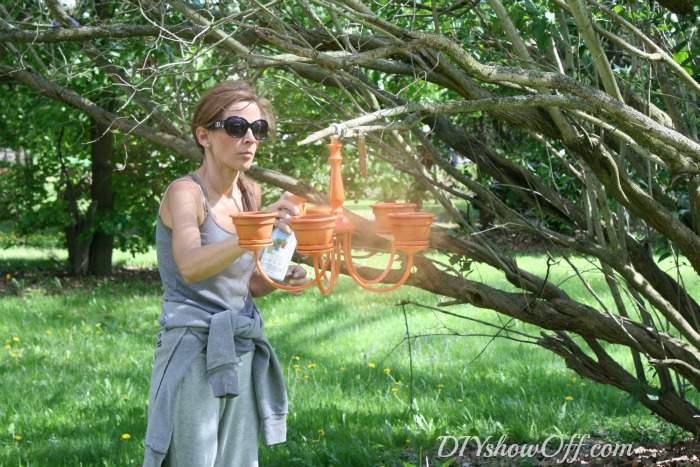
3. Spray paint the entire thing (even your chain if you’ll be using it). I found that hanging the chandelier from a low tree branch to be the easiest spray painting process (especially if the chandelier’s shape doesn’t sit level) but you could also do a 2-step process (position upside down on drop cloth/cardboard, spray paint, dry, flip and the spray from top and let dry). Some parts of the chandelier’s design may also be removable (simply unscrew) and can be taken apart for spray painting if needed. Wear a mask if you’re working under poorly ventilated conditions or breezy weather and eye protection.
spray-painting-chandelier
4. Dry. Since I worked in advance, the chandeliers had several days to dry/cure. The glue did expand and become visible. And a little scratching of the paint happened in places as well. But as we say around here, “imperfection adds character” and those things are not something you pick out and focus on when the project is complete (any imperfections stand out in the  completed project below?… nope!) You could lightly sand and spray a base primer on your chandelier as well.
drying-chandeliers
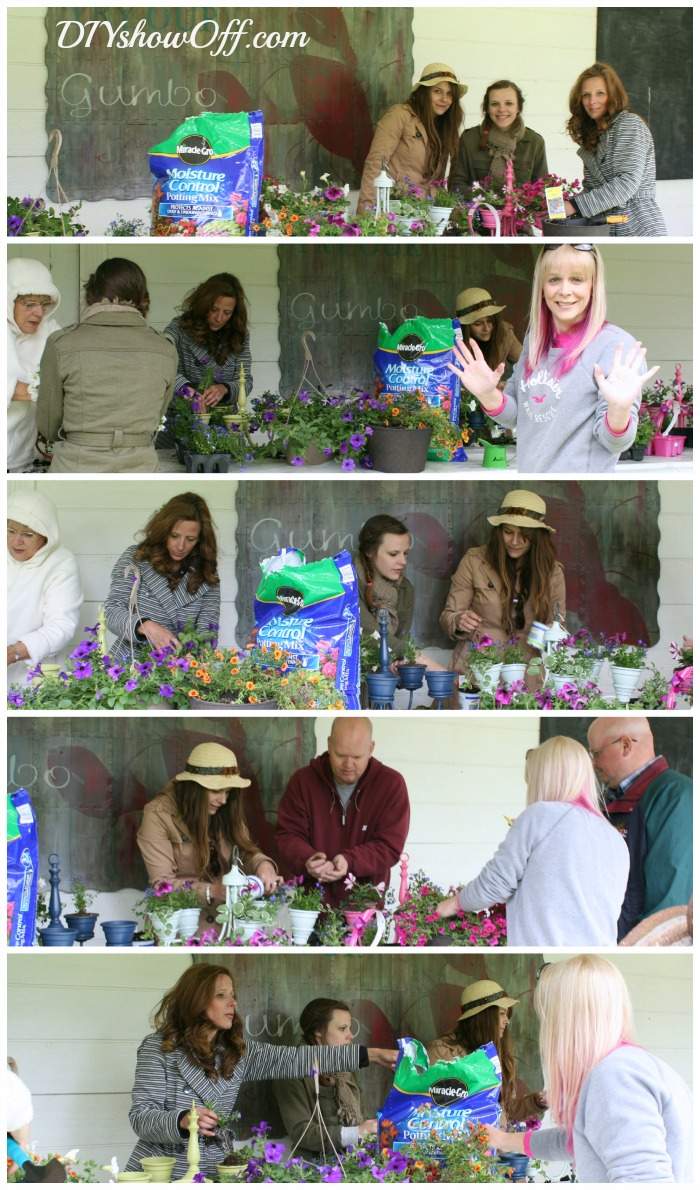
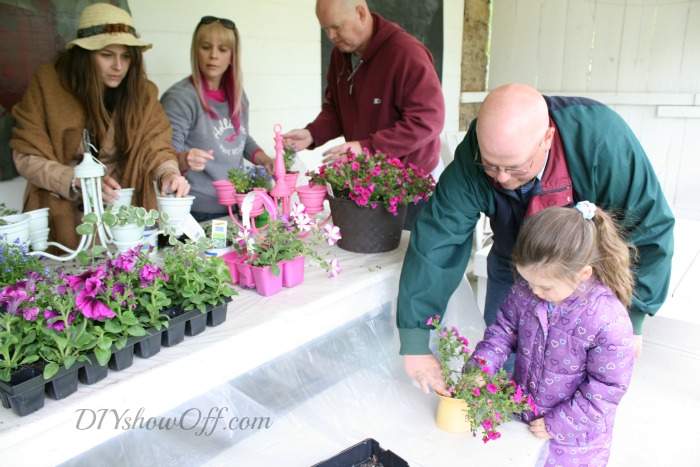
5. Plant! We had several color coordinated flower options on hand as well as some ivy and used Miracle-Gro Moisture Control Potting Soil – perfect for container gardens. I set up the ‘planting station’ on our barn patio to escape the windy conditions.
Even the little ones had fun planting flowers for mom in little watering cans from the dollar store…
addy-planting
6. Water according to plant instructions. NOTE: The Miracle-GroMoisture Control Potting Mix protects against over & under watering. Virtually fool-proof if you do not possess a green thumb. Be sure to water your plants daily!
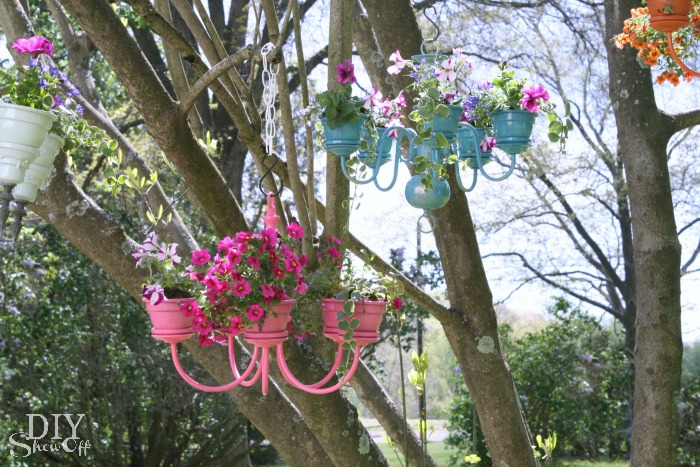
aqua-chandelier-planter
pink-chandelier-planter
navy-chandelier
mint-chandelier-planter
orange-chandelier-planter
Note: My chandelier planter is hanging from a plant hook on our patio. Sunlight and watering are not an issue. The design of some of the chandeliers posted above also allow for table top display. I only ‘display’ my chandelier planter like a ‘chandelier’ on our covered patio as party decorating (a few hours then back to the hook). Also, drainage is limited due to the glue however, I water daily and the Miracle Gro Moisture Control Potting Soil contributes to a healthy balance.
DIYShowOff chandelier planter

How To Make Stepping Stones – With a Cake Pan

pathway stone
You don’t need a fancy schmancy mold to make garden stepping stones; all you need is a non-stick cake pan! And you won’t even ruin the pan!
I stumbled on a new – and EASIER way to make mosaic stepping stones; it’s called the indirect method and it involves contact paper. I think these would make awesome favors or gifts for a garden wedding. Just get your maids together on a Saturday afternoon and have a stepping stone party. They’re inexpensive to make – and they don’t require much skill.
You will need:
  • Round non-stick cake pan (You could also use a heart-shaped pan)
  • Vaseline
  • Contact paper
  • Old plates or saucers that you don’t need (I got mine at the thrift store)
  • Glass gems
  • sea glass (optional)
  • concrete
  • marine varnish
  • Mosaic Glass Cutter (Optional. I did not use of of these, but if you want more precise cuts, this is the way to go.)
  • chicken wire or other type of wire mesh
  • safety glasses
  • rubber gloves
  • dust mask
  • hammer
  • bucket
  • trowel
  • water
Put your safety glasses on. Place a plate or saucer inside a cloth bag or cover with an old sheet or towel, and smash it with a hammer. If you have a mosaic glass cutter, use it instead.
stepping stone
 garden stone
Repeat until you have all the pieces you need. You’ll probably want a variety of sizes, as shown here.
garden stone
Place your cake pan on your contact paper, and trace around it.
stepping stone
Cut out the contact paper circle. Remove backing and place inside pan sticky side up. Add your mosaic pieces to the contact paper with the desired design facing down. Press each piece down so it is firmly stuck to the contact paper. Leave enough space between the pieces so that the cement can fill the spaces in between – but don’t leave too much room. (When I make my next stepping stone, I will move the pieces a bit closer together.)
garden stone
Carefully lift the piece of contact paper and view your design. (This is the back of my design.)
garden stone
If you are happy with your design, place the design back into the pan with the sticky side up. Head outdoors, put on your dust mask and mix up your concrete according to the instructions on the bag. It will be the consistency of porridge when it’s ready.
concrete for stepping stones
stone stone
Meantime, cut a square piece of chicken wire or wire mesh to fit inside the stepping stone. This will help to support it. Also, line the inside rim of your cake pan with Vaseline for easy releasing.
chicken wire
Don your rubber gloves and spoon some concrete into your cake pan.
stepping stone
Spread so it evenly covers your design, about an inch thick.
stepping stone
Place your piece of wire mesh onto the wet concrete.
chicken wire hand
Spread another one inch layer of concrete over the wire.
diy garden stone
Let sit for two days. (I set mine in the shed.) When it’s ready, turn it over and tap on the back of the cake pan. It should release easily. Slowly remove contact paper.
concrete stone
If there are holes,  you can fill them with cement. You can use sand paper to smooth grooves in the cement. I took a wet sponge and cleaned the entire area after removing the contact paper, then I varnished it with marine varnish.
garden stone


pathway stone 2

Thursday, May 14, 2015

How to build a raised planter bed out of wood for your next garden project DIY

If you are going to be spending a lot of time in your garden this year planting vegetables and more, then we have a great project here to help you start planting right way. An easy diy project called a Raised Planter Bed that will fit in just about any sized yard. The wood cost $50 dollars at our local home improvement store and this project did not take long at all, only about 3 hours.
1
Step 1 – All of our wood pieces cut. Now time to start assembling our raised planter bed
2
Step 2 – First screws are in. This will be one of the end pieces of our planter.
3
Step 3 – More end pieces being put together.
4
Step 4 – Both end pieces ready for the sides to be attached.
5
Step 5 – Sides are being screwed together.
6
Step 6 – Sides are screwed together on our diy planter bed.
7
Step 7 – Fully assembled and placed upside down waiting for the holes to be dug for the posts to fit into
8
Step 8 – Added some black liner to the bottom of planter for weed control.
9
Step 9 – Finished planter and filled with gardening dirt – Ready to plant our Garden
10

How to build garden steps

download
Step 1
Start by marking out your site using a builder’s line and pegs. Fix two parallel lines down the length of the slope to mark the outer edge of the steps, and two more to mark the top and bottom. Use a builder’s square to check that the corners form a right-angle.
To work out how many treads and risers you need, you’ll need to measure the vertical height and horizontal distance of your flight of steps. Knock in a peg to mark the back of the highest tread, then hold one end of a long spirit level (or a level and straightedge) at the top of the peg. Ask someone to help you measure the horizontal distance to the first riser, as well as the vertical distance to the ground at that point.
Divide the vertical height by your riser height and use the tread-riser combinations chart to find the tread length you need. Strip away any turf in the marked-out area with a spade.
download

Step 4

Use lines to mark the back of the treads – making sure you set back an extra 50mm or so to give you enough room to work. Then roughly shape the steps with a spade. You’ll need to leave enough depth beneath the concrete slab treads for 100mm of hardcore.
download

Step 5

Dig a trench about 125mm deep for the footing for the first riser. Drive in pegs levelled with a spirit level to mark the surface of the footing before you pour in the concrete. If you’re going to have a paved surface leading to the steps, then dig a deeper footing and lay one or two courses of engineering bricks on top of it, below ground level. You’ll then be able to lay your paving right up to the first riser.
download
 Step 6
Concrete the footing, making sure the surface is level with your pegs. Then leave it to dry for 24 hours before you build on it.