TOOLS
- table saw
- radial arm saw
- wood chisel
MATERIALS
- construction adhesive
- chinking
- pavers
- 4x4 landscape timbers
- roofing material
STEP 1
Cut and Notch the Timbers
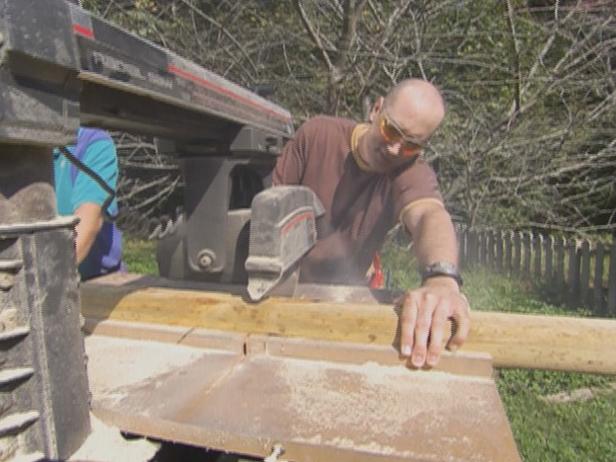
Cut the landscaping timbers (Image 1) to size.
32 pieces at 42" long (for the back and side walls)
20 pieces at 14" long (for the front)
2 pieces at 60" long (the top side pieces that will hold up the front porch)
20 pieces at 14" long (for the front)
2 pieces at 60" long (the top side pieces that will hold up the front porch)
Set the table saw to 3 inches wide and run all timbers through so they are all a uniform thickness. Flatten the top, bottom and inner sides so the timbers will fit together easily. The outer side of the timbers can remain curved.
Cut notches into the 42" timbers for the lap joints. Set your radial arm saw to 1-1/4" deep (almost half the thickness of the timber). Make two pencil marks on each end of the timbers -- one 3 inches from the end and the other 6-1/4 inches from the end. In between those two marks is where the notch will be. Slice 1/4" wide increments into the notch area (creating little grooves). Then use a chisel to remove the slices of wood inside the notch area (Image 2).
On the 14" timbers you'll only be making a notch on one side, the unnotched side will be the doorway. Make two pencil marks on one end of the timbers -- one 3 inches from the end and the other 6-1/4 inches from the end (just like above). Then cut out the notches in the same manner as above.
STEP 2
Lay the Foundation
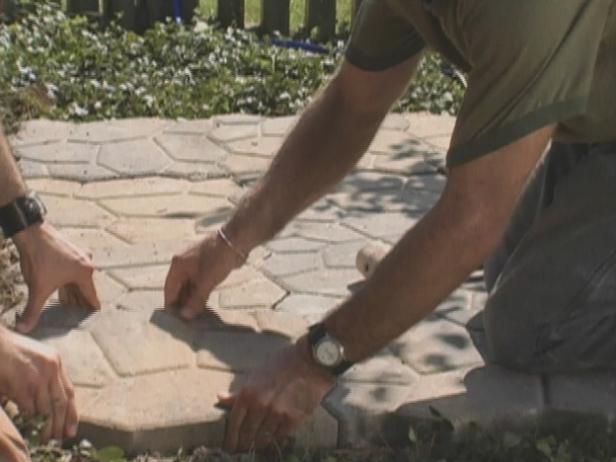
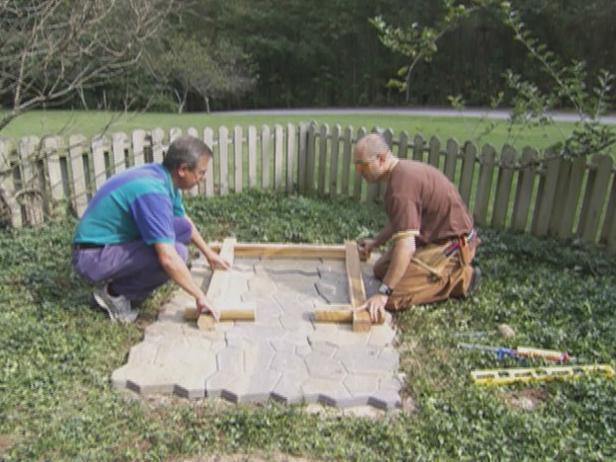
Level the site for the house at 72" x 48". Once leveling is done, spread sand over the entire area about 1-inch thick. Lay the pavers down on top of the sand. Be sure there is a slight slope toward the door or front of the doghouse for proper water drainage.
STEP 3
Build the Walls
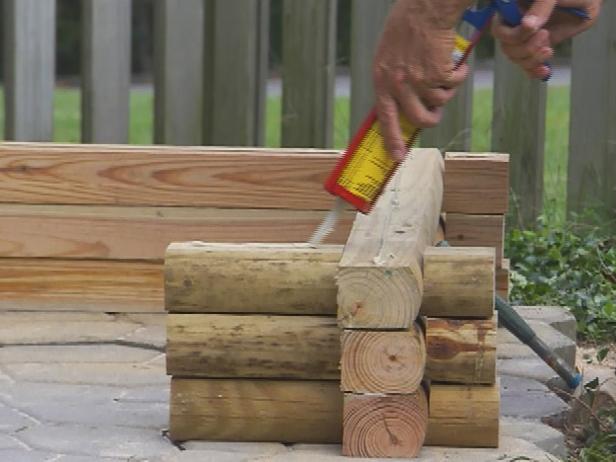
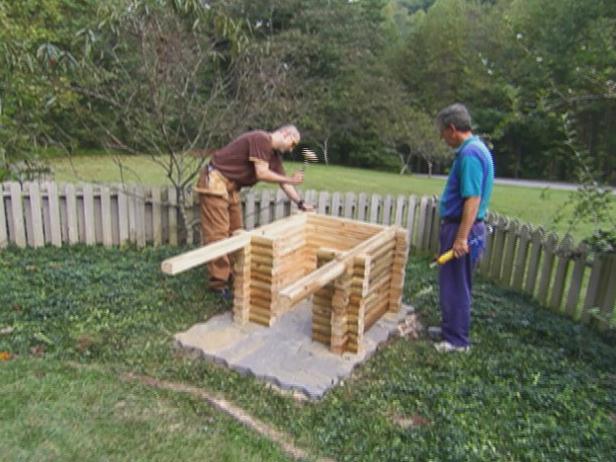
Begin placing the logs one level at a time (Image 1). Apply construction adhesive in between each row of timbers (Image 2). Repeat process all the way to the top. Don’t forget that the 10" pieces go in the front of the dog cabin and make up the doorway (Image 3).
STEP 4
Assemble the Roof
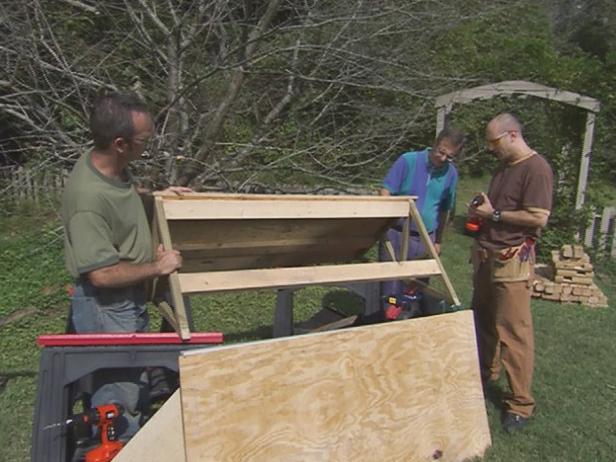
The materials for the roof consist of 1x wood, 2x4s and 1/2" plywood (Image 1). Determine the angle of the gables for the roof. The angles that you’ll need to cut will be dictated by slope of the roof. The assembly of the roof is accomplished by cutting the 1x wood to length with the appropriate angles cut into the ends. These pieces are used to create the front and back gables of the roof. Then, using the 2x4s as cross supports for the roof, attach them to the gables.
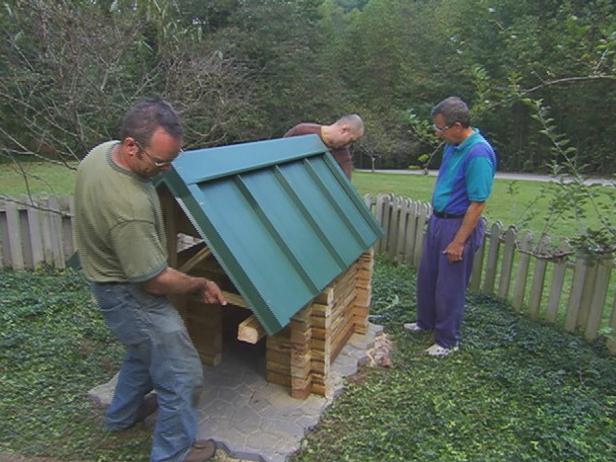
Cover the roof with plywood then skin it as desired. You can use standard roofing shingles. We used standing-seam aluminum panels, which we had custom ordered for our specifications.
Once the roof is assembled and skinned, place it on top of the cabin (Image 2). We just placed it on top so we lift it off to clean inside the house, but you may want to secure the roof to the structure using galvanized screws.
STEP 5
Chink the Seams
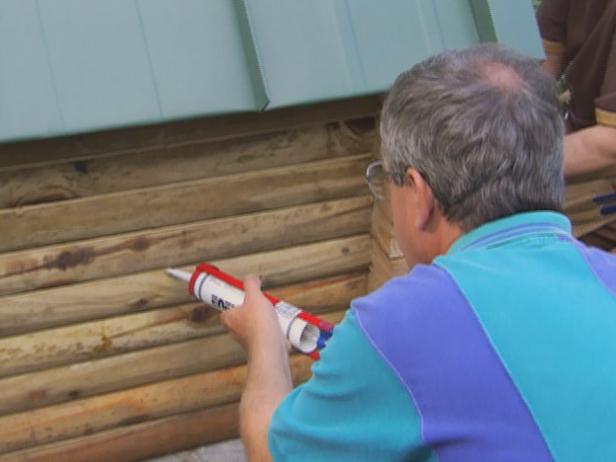
Apply chinking in between the timbers to seal the house. Chinking is a available in tubes, so you can use a caulk gun for easy application.

No comments:
Post a Comment