STEP 1
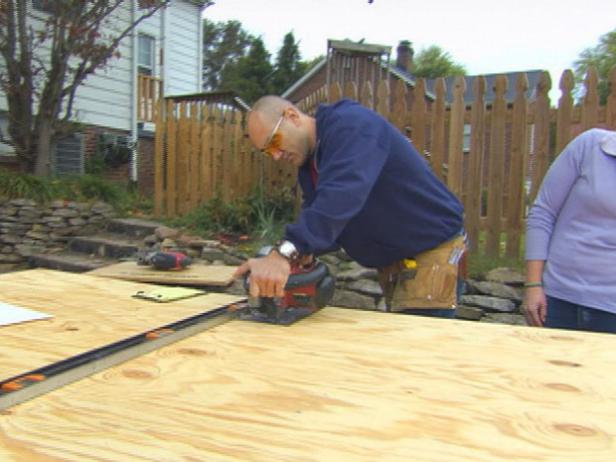
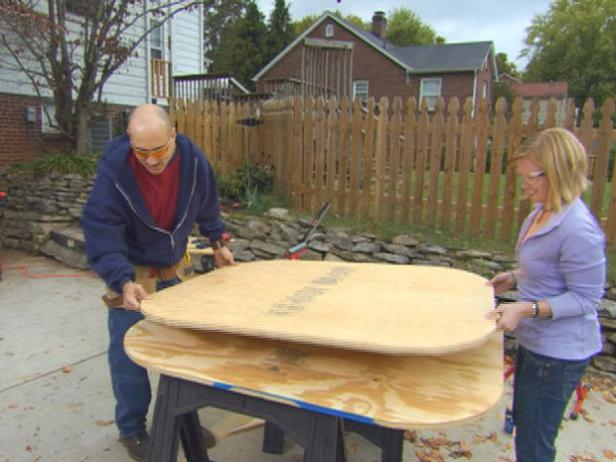
Cut the 3/4" plywood for the floor using a circular saw (Image 1). To get the curved corners, either use a template to draw the curves, or make a compass by hammering a nail into the center of the floor then attaching a string tied to pencil to the nail. Then hold the pencil upright and draw a curved line around each corner (Image 2).
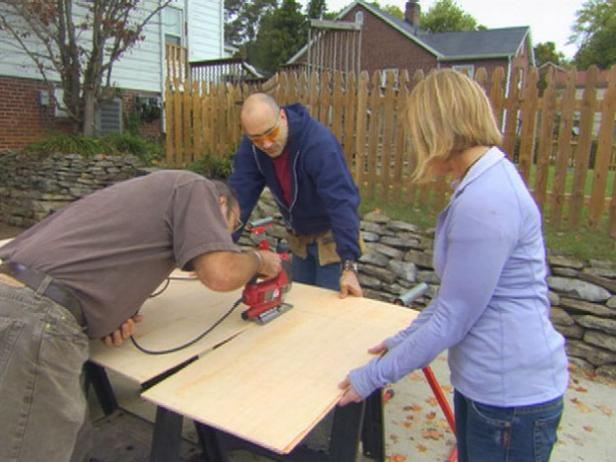
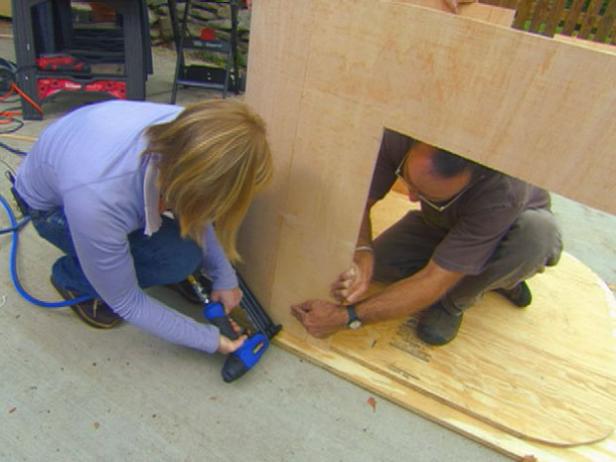
After cutting with the jig saw (Image 3), the subfloor should have a 14" radius, and the upper floor should measure a 13" radius. Use the same method to measure and cut the top of the house, matching the 13" radius of the upper floor. The drop, or leftover piece of wood from the top piece, should be saved for use later. Affix the upper floor onto the subfloor using wood glue and screws (Image 4).
STEP 2
Cut the Door and Add the Walls
Using a jig saw, cut a door out of the luan (flexible plywood) on one end of the pieces (Image 1). Cut both pieces at the same time to assure accuracy when you line them up.
To attach the luan walls, glue and nail the first layer to the edge of the top floor and to the outside edge of the top of the house. Then, put a bead of glue on the outside of the first layer of luan and attach the second layer with nails (Image 2).
STEP 3
Attach the Wood Posts
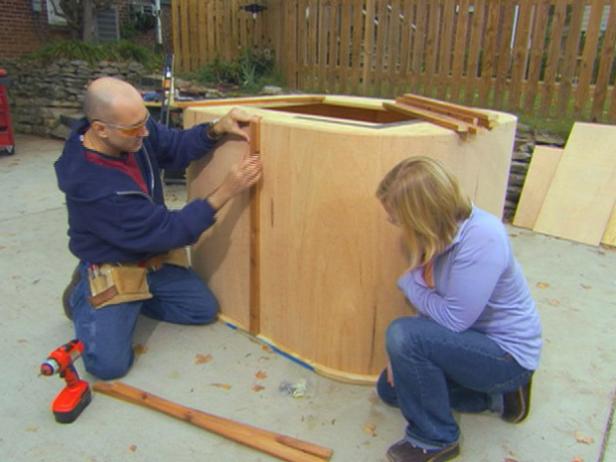
Now it is time to attach the 1x2 wood posts to the outside of the walls — one on each of the flat sides, one on each side of the doorway and one on each curved corner.
Drill pilot holes in the posts before attaching to prevent splitting. Attach with wood glue and wood screws.
STEP 4
Add the Padding and Install the Door
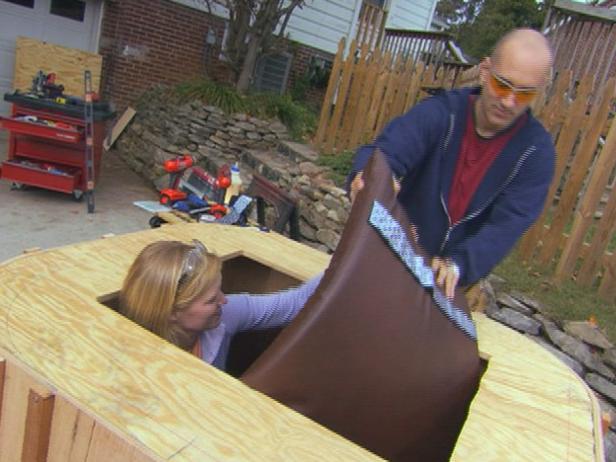
Next, add the padded lining to the inside of the house, first you'll use hook-and-loop fasteners to attach the padding. Use a staple gun to attach one side of the hook-and-loop fastener to the interior of the doghouse. Use the adhesive backing to attach the corresponding side of the fastener to the vinyl pads, and then attach the pads to the walls (Image 1).
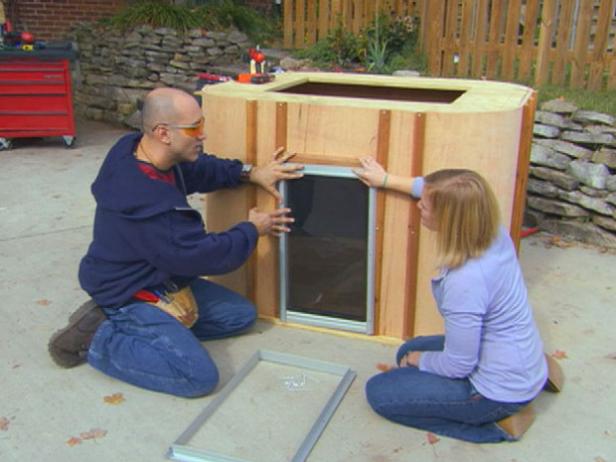
Install dog door according to manufacturer's instructions (Image 2).
STEP 5
Install the Roof and Finish the Doghouse
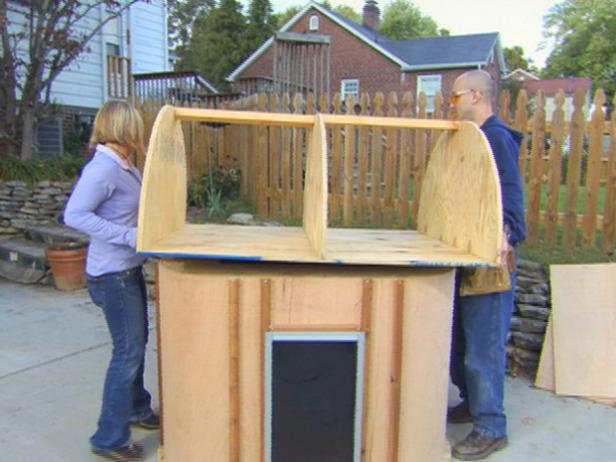
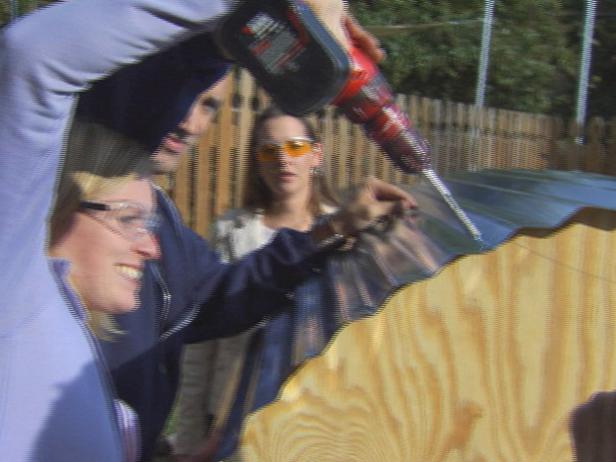
Mark and cut plywood at 56" x 46" to be the base of the roof. Attach the drop piece from the top (that you saved from step 1) in the center of the roof piece, to use as a guide; this will act as a locator for the roof. Attach three half-moon support pieces on end, using wood glue and wood screws from the bottom of the roof up into the bottoms of the half moons (Image 1). Then use self-tapping screws to attach the galvanized steel roof to the tops of the half-moon pieces (Image 2).
Install a floor pad and stain the outside of the house with weatherproof sealant to complete the project.


No comments:
Post a Comment